
Economic Water Structuring Twin Kit
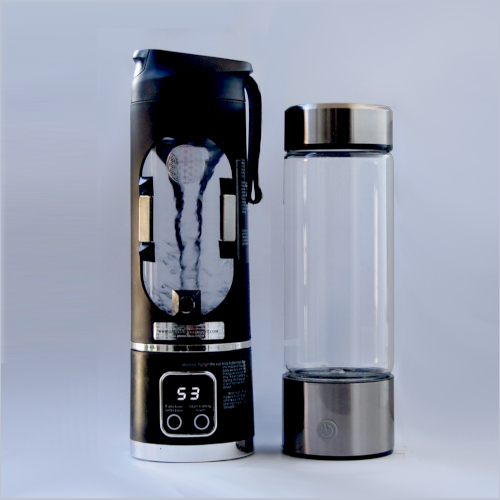
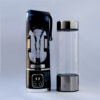
This Economic Water Structuring Twin Kit is designed to structure your drinking water and increase the level of ions in your bloodstream. Structured water is essential to our health.
The kit includes:
- 1 Vortexer
- 1 Negative Ion Hydrogen Water Bottle
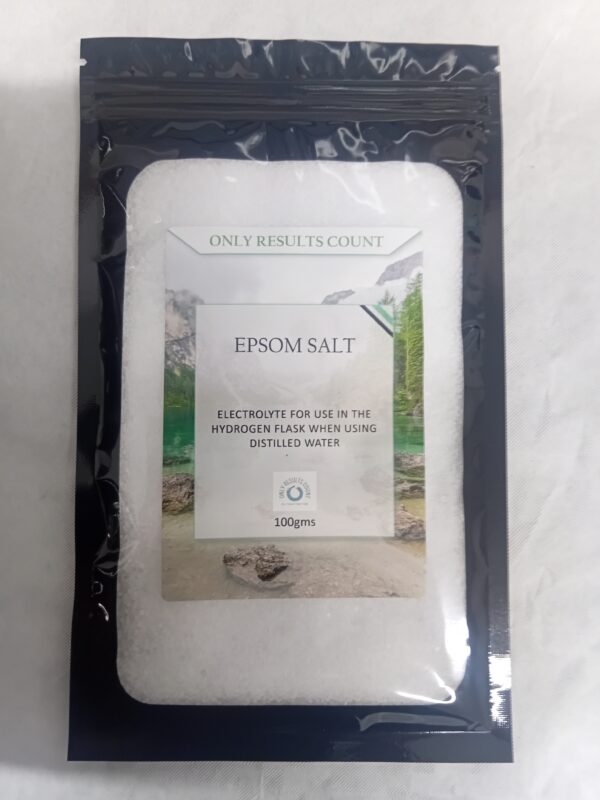
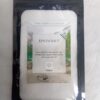
- 100 g electrolyte (Epsom salt)
Note: Difference between the Economic and Original Twin Kit
This new Economic version of the kit does not include the breathing settings that were part of the earlier Original version.
The breathing kit provides an alternative to drinking the water. If you would like to have the kit that includes the breathing apparatus, please look for the Original Water Structuring Twin Kit on our website.
Water Structuring Vortexer Guide
Use the Vortexer first, followed by the Hydrogen Flask.
Firstly, add your preferred water* to the Water Vortexer. Press the Start button on the Vortexer. It will structure your water in approximately 30 seconds and then automatically switch itself off.
*If you are using distilled water, you must add a pinch of conductive electrolyte after the vortexing process if you are going to use the Hydrogen Flask afterwards. Water used in the Hydrogen Flask must be conductive. Distilled water is not conductive.
*The electrolyte is a salt such as Epsom salt. Do not use table salt or any other form of salt.
Once the Vortexer has stopped, add the structured water to the Hydrogen Flask.
Do not seal the lid tightly on the Hydrogen Flask. This allows gas produced during the process to escape and prevents any possible build-up of air pressure.
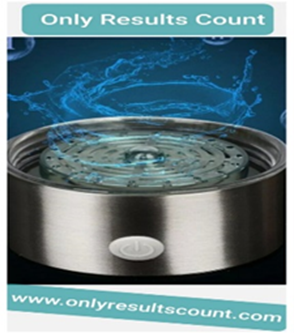
Press the Start button on the Hydrogen Flask. A blue light will appear and bubbles will begin to appear in the water.
The unit will automatically switch itself off after 3 minutes.
The water is now ready to drink.
Note: Hydrogenated water should be consumed within two hours, as the hydrogen slowly discharges.
Structured water will remain structured for up to a year.
Do not place your drinking water near mobile phones, Wi-Fi units, microwaves, etc., as this will degrade the quality.
Hydrogen Flask Guide
Negative Ion Hydrogen Flask
Assembly / Unpacking
You will notice that the plastic tank is attached to the charging base.
- Remove the plastic tank from the charging base.
- Attach the charging base to the glass flask.
- Always use good-quality water.
- Fill the ionizer flask to within 1 inch of the neck.
- Do not overtighten the lid. This prevents the flask from pressurising.
Operating the Hydrogen Flask
Press and release the Start button.
A blue light will turn on and, after a short period, you will see ionised gas bubbles rising through the water.
The flask will automatically switch itself off after three minutes.
Using Distilled Water
If you are using distilled water, you will need to add a small pinch of electrolyte salt.
WARNING
Do not use Celtic salt, Himalayan salt or any other salt that contains chloride, as this will produce chlorine gas, which may be harmful.
Reviews
There are no reviews yet.